Image to 3D Model Free: Switch From Meshy to Print-Ready
See how an image to 3d model free workflow can move from Meshy to print-ready output, with GLB and STL checks, repairs, orientation, and slicing.
If you are exploring image to 3d model free tools, this guide explains how to reuse the source image, assess Meshy files, and check new GLB or STL models before slicing.
Changing generators does not mean throwing away your Meshy files. I would keep the original image for a fair rerun, inspect the meshes I already have, and judge the result in a slicer rather than by its rendered preview.
The short version
- Keep the image you gave Meshy. A Meshy alternative for printing can generate its own model from that image; it does not need the Meshy mesh.
- Inspect existing Meshy GLB or STL files before generating replacements. A good shape may need repair or a different orientation, not a fresh run.
- If you start with a SupaVoxel GLB, convert it to STL, check its size and orientation, then slice it. A convincing texture does not make open geometry printable.
- Use the paid print-prep studio when you need repair, a stand base, plane cuts with pins, or multi-color 3MF. Those features are included in every paid plan from $25 a year.
Step 1: Rerun the source image, not the Meshy export
Find the picture you originally supplied to Meshy. Keep it alongside the Meshy result so you can compare the same subject from the same input. SupaVoxel’s image-to-3D studio generates from an image; switching generators means rerunning that picture, not importing the Meshy model into the studio.
Start with an untextured run if your intended print is one color. At sign-up, SupaVoxel gives you 3 free credits; an untextured model uses 1 credit and can be downloaded as GLB. That is enough to inspect the new geometry before deciding whether paid exports or print-prep features are useful to you. Do not judge the two models only from their front-facing renders. Rotate each to see the back, underside, thin projections and contact area with the bed.
I pay particular attention to details that may exist only in a texture. A painted seam can look deep under good lighting while contributing no shape for a nozzle to follow. For a fair comparison, look at the mesh silhouette and sliceable features, not just the image wrapped around them.
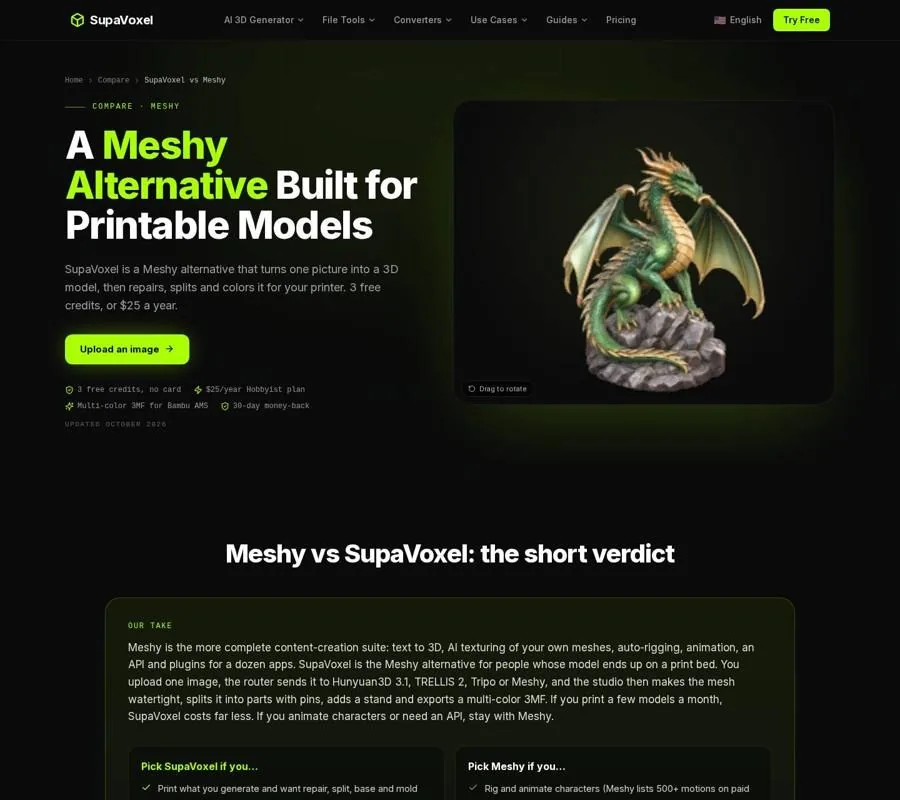
The comparison page separates generation and download options from the print-prep work that follows.
Step 2: Audit the Meshy files you already own
Before replacing a file, open the existing Meshy GLB or STL in a viewer and rotate it freely. SupaVoxel’s browser viewers can open existing GLB or STL files without an account. Look for missing backs, detached features, flat planes used as hair or clothing, and a base that touches the bed at only a small point.
A GLB can preserve the color and materials that made the model attractive on screen. An STL describes triangles, not the image textures painted over them. Neither appearance nor file extension tells you that those triangles enclose a printable volume. A model built for a game or web viewer can look complete from the camera’s side while leaving its rear open.
Keep a usable Meshy mesh if it already has the shape you want. Repairing that file may be less disruptive than rerunning its image and accepting a different interpretation. If you do rerun it, compare both meshes at the intended print size: a thin strap that looks substantial when zoomed in may disappear when the object is scaled down in the slicer.
Step 3: Repair holes before tuning print settings
When a slicer reports open edges or behaves strangely around a surface, investigate the mesh before changing layer height or supports. An open edge is an edge that does not close against another face. A watertight solid has a continuous boundary, giving the slicer a clearer distinction between inside and outside.
For an existing STL, SupaVoxel’s standalone STL repair tool is a browser option that does not require an account. For a model generated in its paid studio, one-click repair to a manifold solid is included in every paid plan from $25 a year. These are different routes to the same practical checkpoint: get a repaired file back into the slicer and inspect the resulting layers.
Repair is not a substitute for reviewing the shape. Closing a hole may address an open surface, but it does not make a very thin feature sturdy or make floating details touch the body. After repair, check the back again, then preview the actual sliced layers around fingers, accessories and any other delicate geometry. If a feature vanishes, reconsider its size or the model itself rather than assuming the repair failed.
Step 4: Give the model a stable base and split what will not fit
A tall character can be difficult to place on a print bed even if its mesh is watertight. First choose the intended print size and a plausible resting orientation. Check that the model fits your printer’s build area and that the parts touching the bed provide a stable starting point. A rendered preview usually hides those practical constraints.
For a newly generated model, the paid SupaVoxel studio includes a stand-base generator and plane cuts that split a model into parts with connector pins. Its standalone STL splitter is another route for an existing STL. Choose a cut where the joint will be accessible for assembly and where each resulting part can be oriented sensibly for printing. Pins help align a joint; they do not remove the need to check the cut faces and the sliced parts.
If you are keeping an older Meshy file, do not assume the paid generation studio takes that mesh as an input. Work with the existing STL in the browser tools, or rerun the source picture when you want to use the generated-model workflow. Slice each part separately after splitting. That catches an awkward overhang or an unexpectedly thin section before it becomes a print.
Step 5: Convert a GLB without losing track of scale
A free untextured SupaVoxel run produces a downloadable GLB, while an existing Meshy project may also leave you with GLB rather than STL. The GLB to STL converter runs in the browser and prepares that geometry for a slicer. It is free to use and needs no account.
Scale is the trap. The glTF standard uses meters; STL stores no unit, and slicers generally interpret its numbers as millimeters. Copying the numbers unchanged would make a correctly authored GLB tiny. The converter applies the meters-to-millimeters change and shows the output size so you can check it before downloading. If the original artist worked in another unit, use its file-unit setting or scale control rather than trusting the first result.
Orientation matters too. GLB uses a Y-up convention, while print workflows commonly expect Z-up. The converter’s Z-up option is on by default; it turns the model, centers it and places its lowest point on the bed. Open the downloaded STL in your slicer anyway. An artist may have modeled the subject lying down, and an automatic rotation cannot decide the best print orientation for you.
The conversion keeps visible mesh geometry but drops textures, colors, UVs and animation. Separate scene meshes are written into the STL, but that does not guarantee detached details have become connected printable parts. Inspect the slice, and repair open geometry if the slicer flags it.
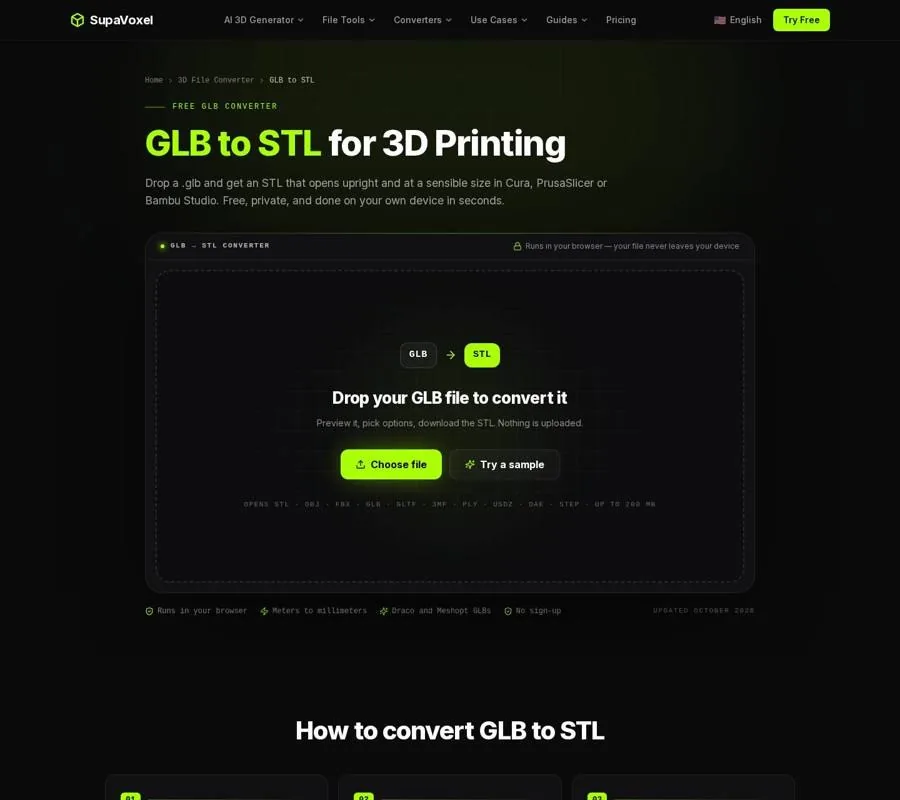
The converter page shows the output-size and orientation controls to check before slicing.
Step 6: Pick exports for the job, then compare alternatives
The free GLB route is a sensible geometry test for a single-color print: generate, download, convert, inspect, repair if needed, and slice. SupaVoxel’s paid plans add direct STL, OBJ, USDZ and 3MF exports. The generated-model print-prep features are included in every paid plan from $25 a year, with no extra credits per step. If the job needs a stand, pinned cuts or a multi-color 3MF for Bambu AMS, decide based on those requirements rather than paying simply to avoid a conversion.
Other generators are worth testing with the same source picture, but their export lists do not answer the printability question. The Fast3D alternative comparison is useful if you are weighing Fast3D’s STL export against SupaVoxel’s repair, base, split and 3MF workflow. Fast3D does not list those print-prep features in the comparison as of November 3, 2026.
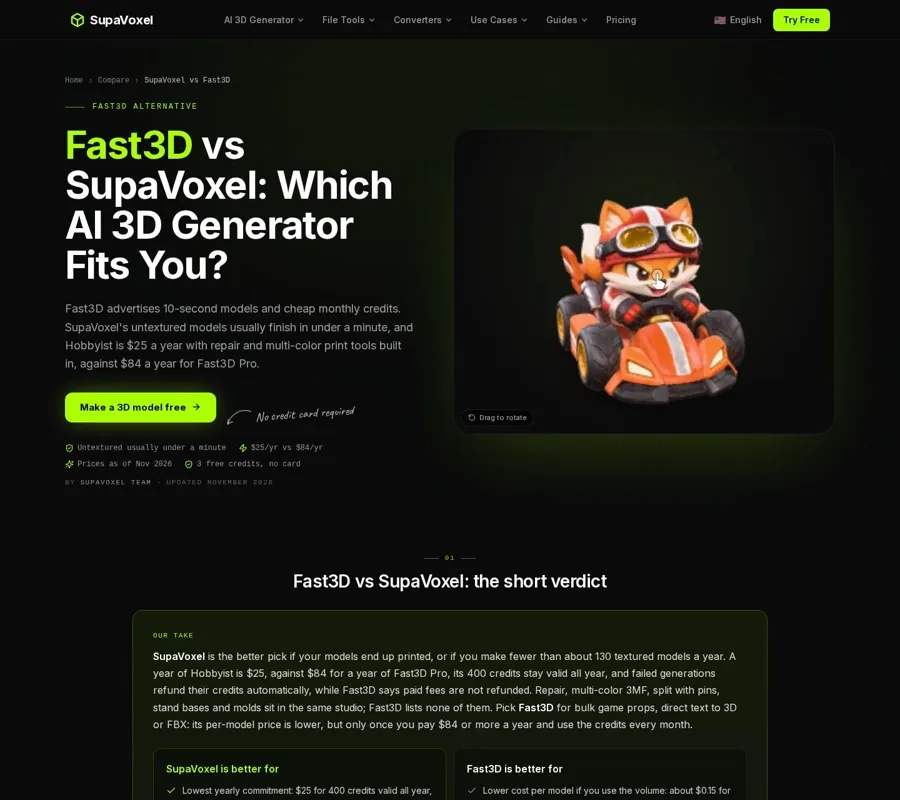
The comparison page helps distinguish an available STL export from the steps needed to prepare that STL for printing.
If you are also considering Magic3D, the Magic3D alternative comparison helps you account for its separately charged repair, split and 3MF steps, as listed on November 3, 2026. Whatever tool produces the mesh, I would make the final choice from the inspected geometry and slicer preview. The best-looking render is not necessarily the file that survives slicing.
FAQ
Can I bring a Meshy model into SupaVoxel’s generation studio?
The studio generates its version from your source image rather than importing the Meshy mesh. You can still inspect existing Meshy GLB or STL files with the browser viewers and work on an STL with the standalone repair or splitting tools.
Why did my converted STL lose its color?
STL does not store image textures or material colors. GLB can carry them, but GLB-to-STL conversion keeps the geometry for a single-color slicing workflow. If color is essential, check the paid multi-color 3MF workflow instead.
Is a repaired STL guaranteed to print?
No. Repair addresses mesh defects such as open geometry, not every physical constraint. Check the intended size, bed contact, thin features and sliced layers before printing.
Want to try it yourself?
Try Supavoxel →