Concept artists
You have a JPG of a prop or character and need a rough 3D starting point.
Block out shape and proportion before refining the design.
JPG conversion
Convert JPG to 3D image online free by starting with one clear reference image, then reviewing the generated result before you use it for a concept, scene, or print preparation.
Choose the route that matches your source material and intended result.
A JPG is a useful starting point when the goal is a fast visual model rather than a measured reconstruction.
You have a JPG of a prop or character and need a rough 3D starting point.
Block out shape and proportion before refining the design.
A reference image needs to become a scene-ready concept for early iteration.
Explore silhouettes and forms before committing to a detailed asset pipeline.
A classroom JPG shows an object students need to inspect from more than one angle.
Turn a flat reference into a more engaging visual study aid.
A product photo is a convenient first reference for a printable shape.
Check the generated form before deciding whether manual cleanup is needed.
The browser workflow keeps the conversion focused: provide a readable image, let the tool infer form, then inspect what it produced.
Use a well-lit image with the subject separated from its background. Strong silhouettes and visible edges give the conversion more useful visual evidence.
Upload or pass the image through the conversion prompt, describing the object and any details that should remain recognizable.
Rotate the output mentally or in the viewer, checking the silhouette, hidden surfaces, thin parts, and areas that were not visible in the JPG.
A JPG and a generated 3D model are different kinds of data. The comparison below shows what changes during the conversion.
| JPG reference | Generated 3D model | |
|---|---|---|
| Dimensionality | Flat 2D image | Three-dimensional form |
| Viewpoint | One captured angle | A form intended for broader inspection |
| Hidden surfaces | Not visible in the image | Inferred from visible evidence |
| Texture evidence | Pixels, lighting, and color are present | Appearance may be interpreted into a surface |
| Exact measurements | Usually not supplied by the photo | Not guaranteed unless dimensions are known |
| Editable geometry | No mesh or vertices | A model that can be reviewed and refined |
| Source certainty | Directly captured reference | AI-assisted interpretation |
These are the concrete input and output boundaries to keep in mind when moving from one JPG toward a 3D result.
A single JPG cannot preserve every fact about a real object. Treat the model as an informed reconstruction, not a scan with guaranteed measurements.
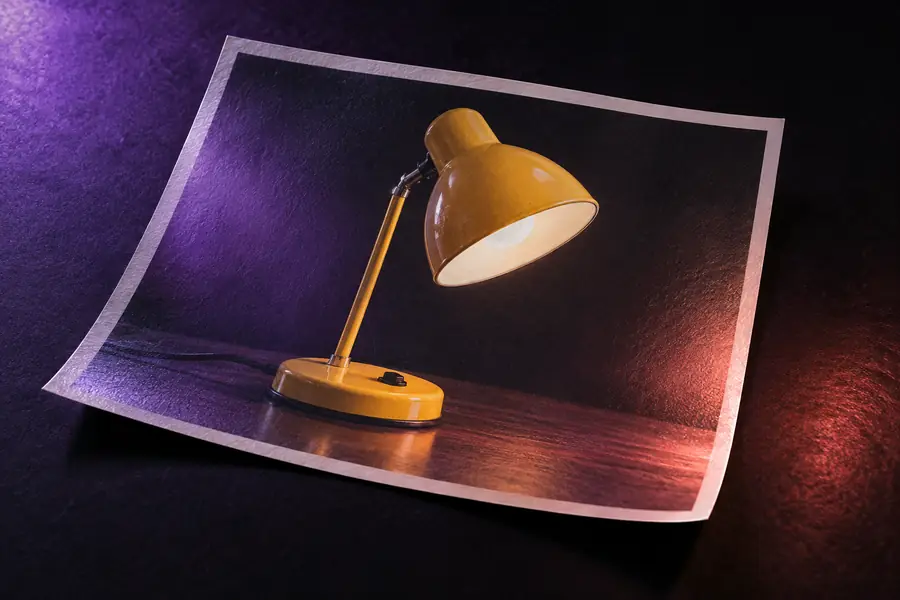
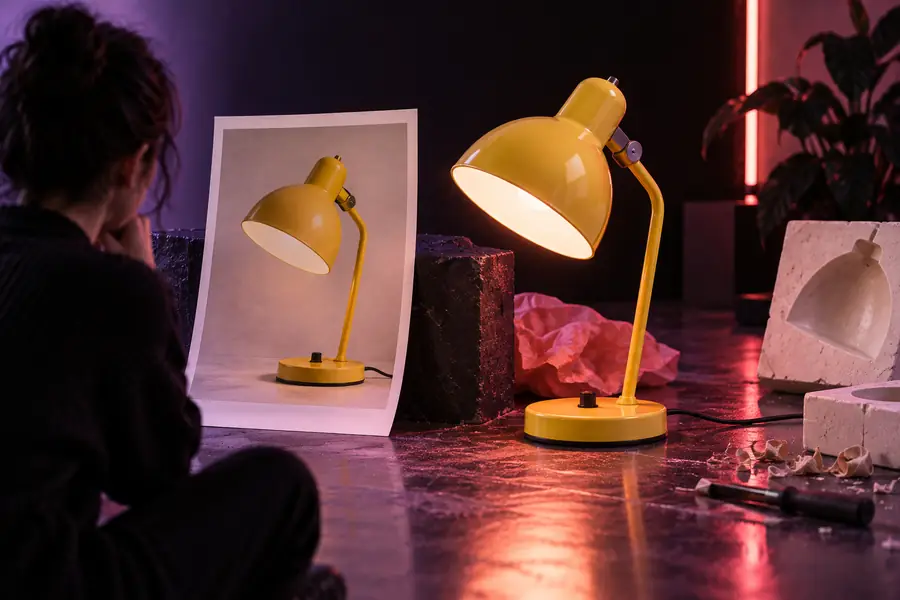
The output is inferred from visible evidence.
JPG reference3D interpretationA short review catches the most common mismatches before you carry the model into another workflow.
The JPG only shows what the camera captured, so the back and underside can be uncertain.
What to do instead
Compare the result with any extra references or use multiple images when those surfaces matter.
Straps, handles, stems, and narrow supports may be simplified when their edges are unclear.
What to do instead
Call out delicate features in the prompt and inspect them at a closer scale.
A visually convincing model can still lack real-world dimensions because the JPG may contain no known measurement.
What to do instead
Set dimensions manually in your modeling or printer software before fabrication.
Reflections, shadows, and background colors can be mistaken for surface detail or geometry.
What to do instead
Use even lighting, a clean background, and a second reference for important material decisions.
Bring a clean reference image and a specific description of the object you want to inspect. The tool can help you move from a flat JPG toward a useful 3D concept, while the final review remains yours.
Answers to common questions about converting JPG images into 3D results online.
Yes, a browser-based image-to-3D workflow can use a JPG as its visual reference and produce a 3D interpretation. The result should be treated as a generated model, not a guaranteed scan or exact measurement.
Use a sharp, well-lit JPG with the main subject clearly separated from its background. A strong silhouette and visible structural details usually provide better evidence than a dark, cluttered, or heavily cropped image.
No. A single JPG normally shows only one viewpoint, so hidden surfaces must be inferred. If the back, underside, or complex shape is important, use multiple references through a multiple images to 3D model workflow.
Not necessarily. Review the geometry, check for missing or thin parts, and set a real-world scale before sending it to a printer workflow. Generated output may need cleanup or repair first.