Product designer
You have front, rear, and angled photos of a prototype or household product.
The extra views give the generated draft stronger cues for silhouette and depth before review.
Multi-view workflow
A multiple images to 3D model workflow uses several views of one subject to provide more visual context than a single reference. Upload consistent images, review the generated shape, and refine the result in the browser.
Related workflows
These nearby guides cover different inputs and access needs around browser-based 3D generation.
Practical uses
Different people use multi-view references to reduce guesswork around hidden sides, proportions, and object identity.
You have front, rear, and angled photos of a prototype or household product.
The extra views give the generated draft stronger cues for silhouette and depth before review.
You want a rough printable starting point from photographs of a physical object.
Multiple angles help expose missing sides, so less manual reshaping is needed after generation.
You are collecting visual references for a prop, character accessory, or scene object.
A unified draft is easier to block out than reconstructing the subject from separate 2D views.
You need to demonstrate how photographs influence a digital reconstruction.
Comparing the input angles with the output makes the strengths and gaps of image-based modeling visible.
How it works
Keep the image set consistent, let the tool combine the visual evidence, then inspect the output from several angles.
Choose clear images of the same subject with similar lighting. Include front, side, rear, or angled views that reveal different surfaces.
Open the web tool, add the references, and describe the object briefly so the generator can connect the views to one intended subject.
Rotate the result, check thin parts and hidden surfaces, then revise the references or description if the draft misses important geometry.
Visual comparison
A single angle can leave hidden geometry ambiguous. A coordinated reference set gives the reconstruction more evidence to work from.
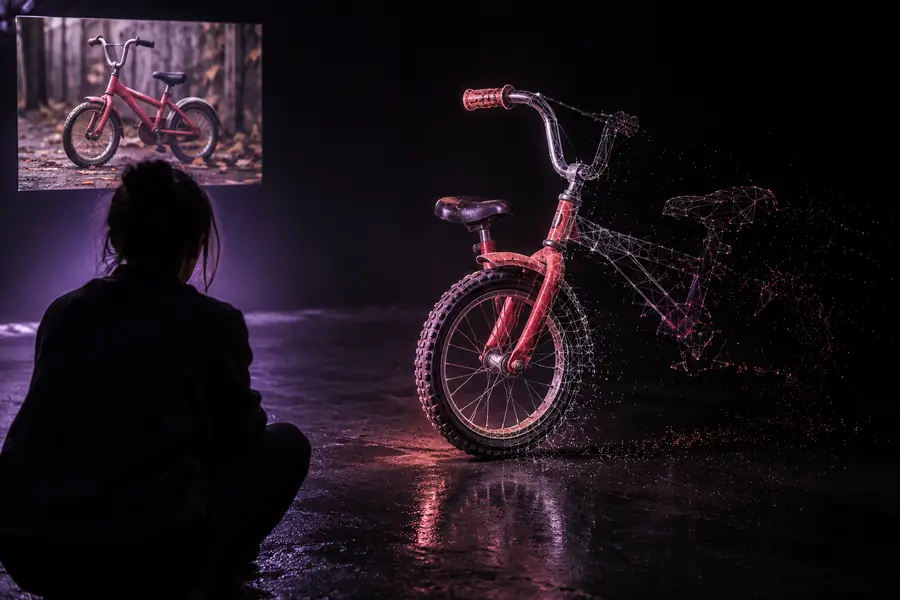
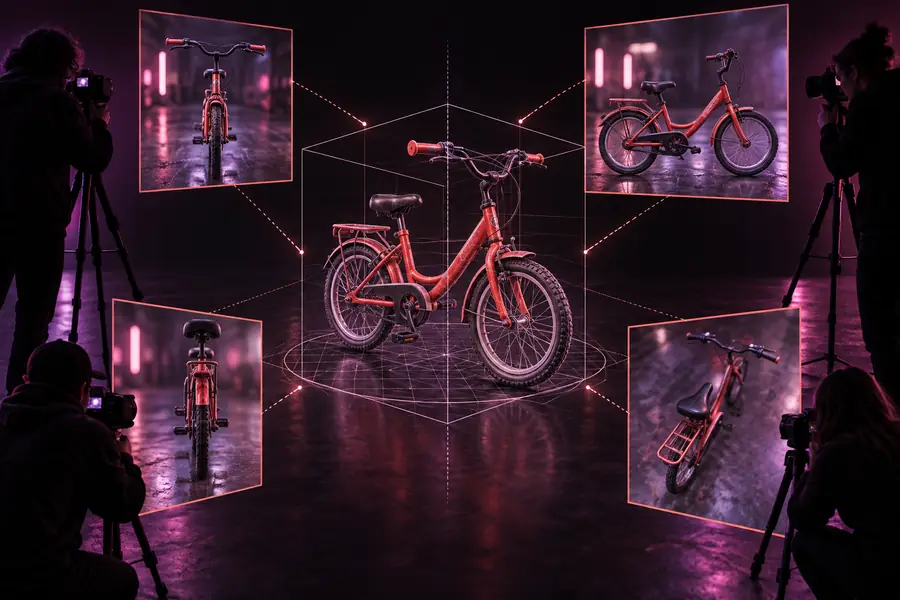
More views clarify surfaces, but they do not guarantee exact measurements.
One reference viewSeveral reference viewsInput and output
Use this comparison to decide whether adding images will genuinely help your subject and intended result.
| Single image | Multiple images | |
|---|---|---|
| Visible coverage | Mostly one side and its visible silhouette | Several sides and angles can be represented |
| Hidden geometry | More of the unseen shape must be inferred | Additional views reduce some ambiguity |
| Preparation time | Faster to collect and upload | Requires selecting and organizing matching references |
| Subject consistency | One image is easy to keep focused | Every image must show the same object |
| Lighting needs | A single clear photo may be enough to begin | Large lighting changes can confuse cross-view matching |
| Best use | Simple objects or quick concept blocking | Objects with important sides, depth, or asymmetry |
| Expected output | A useful visual approximation | A more informed approximation, still requiring inspection |
At a glance
These labels describe the relationship between the source material and the generated result, not guaranteed accuracy or processing limits.
Know the limits
Multiple references improve context, but image-based generation remains an approximation. Plan a review step before using the output for production.
Photos do not automatically establish scale, tolerances, or engineering dimensions.
What to do instead
Add a known-size reference and verify critical dimensions in a CAD or modeling tool.
Different objects, camera angles, lighting, or backgrounds can cause the system to blend conflicting evidence.
What to do instead
Use images of the same subject with consistent framing and remove unrelated items.
Thin walls, floating parts, holes, and non-manifold geometry may remain after generation.
What to do instead
Run a mesh check and repair or thicken the model before slicing.
Even several images may omit the underside, interior, or tightly occluded details.
What to do instead
Capture additional angles or simplify expectations for unseen areas.
Start with your references
Have several clear views of the same object? Send them to the free web tool with a short description, then inspect the result before deciding whether it needs manual cleanup.
Variant FAQ
Several views show more of the subject’s silhouette, surfaces, and proportions than one image can. That added context can produce a more informed draft, especially for objects with important side or rear details.
There is no universal number because the useful set depends on the object and the views already available. Start with clear front, side, rear, and angled references when those angles reveal meaningful geometry, rather than adding redundant or conflicting photos.
Yes. The references should depict the same subject, with compatible proportions and enough visual consistency for the tool to connect them. Mixing objects or radically different scenes can lead to blended or distorted geometry.
No. The result is an image-informed approximation, not a guaranteed measurement-accurate scan. Check scale, hidden surfaces, thin parts, and mesh quality before using the model for fabrication or other precise work.
You can use it as a starting point, but it may need cleanup before printing. Inspect wall thickness, watertightness, disconnected parts, and dimensions in a mesh repair or slicing tool.