Practical tutorial
Learn How to Use Image to 3D Model Free Online
This guide explains how to use image to 3d model free online from a browser, starting with a suitable reference image and ending with a model ready for review or further editing.
Prerequisites
A small amount of preparation makes the browser workflow more reliable and gives the generator clearer visual information to work with.
- image to 3d model free online Use the browser-based tool when you want to upload a reference and begin without installing software.
- multiple images to 3d model Add more viewpoints when one image cannot show the shape, depth, or hidden sides clearly.
- image to 3d model free for printer Follow a printer-focused workflow when the generated object needs extra checks before fabrication.
Numbered steps
The basic process is short: prepare the input, send it through the generator, then inspect the output before deciding what to do next.
-
1
Prepare one clear reference
Choose a well-lit image with the subject separated from its background. A centered object with visible edges is easier to interpret than a dark, crowded, or heavily cropped photo. Remove unrelated text, clutter, and reflections where possible.
-
2
Upload and describe the subject
Open the web tool, upload the image, and use a concise description to identify the object and its important characteristics. Mention the material, major parts, approximate style, and any feature that must remain recognizable.
-
3
Review the generated model
Wait for the result, then inspect the silhouette, proportions, surface details, and hidden areas. Compare the output with the reference rather than judging only the thumbnail. Save the useful result and revise the input when a key feature is missing.
-
4
Refine the next attempt
If the first output is weak, improve the reference or rewrite the description before trying again. Use more specific wording for shape and structure, not vague praise such as realistic or perfect.
Common errors and fixes
Most disappointing results come from ambiguous inputs rather than from the final review. These checks help isolate the cause before you repeat the workflow.
- Useful reference format for a straightforward image upload
- JPG
- Useful when a clean subject cutout or transparent background helps
- PNG
- Output to inspect as geometry, not just as a flat picture
- 3D
- The workflow runs in a browser without a local installation
- Web
Advanced tips
Once the basic workflow is familiar, small changes to the image and prompt can improve consistency without making the process complicated.
A single view cannot reveal every side
One image gives incomplete information about the rear, underside, and internal structure of an object. The result may invent hidden geometry or simplify areas that are not visible.
What to do instead
Use multiple viewpoints when available, or describe the hidden structure explicitly and treat the first output as a concept rather than a measured replica.
Fine surface detail may be simplified
Small text, thin wires, tiny ridges, and subtle textures can disappear when the reference does not show them clearly. A model can match the overall silhouette while missing important micro-details.
What to do instead
Use a close, sharp reference and mention the defining details in the description. Plan to add delicate features in a separate modeling tool if accuracy matters.
The output is not automatically production-ready
A generated model may contain disconnected parts, thin walls, awkward topology, or proportions that look acceptable from one angle but fail in use.
What to do instead
Inspect the geometry before printing, animation, or manufacturing. Repair the mesh, check scale, and confirm that the intended software accepts the exported result.
Lighting and background can confuse the shape
Strong shadows, reflections, patterned backgrounds, and overlapping objects can be mistaken for geometry or hide the true outline.
What to do instead
Use even lighting, a simple background, and a clearly separated subject. Crop tightly while leaving enough margin around the complete object.
Advanced tips
A before-and-after comparison is useful because it separates what the reference actually shows from what the generated model inferred.
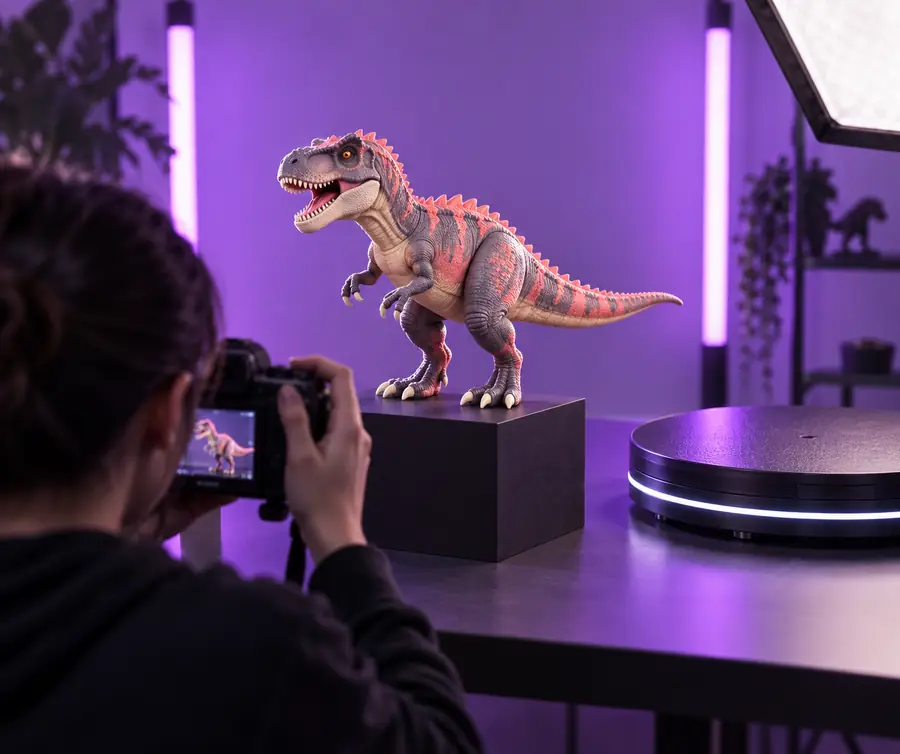
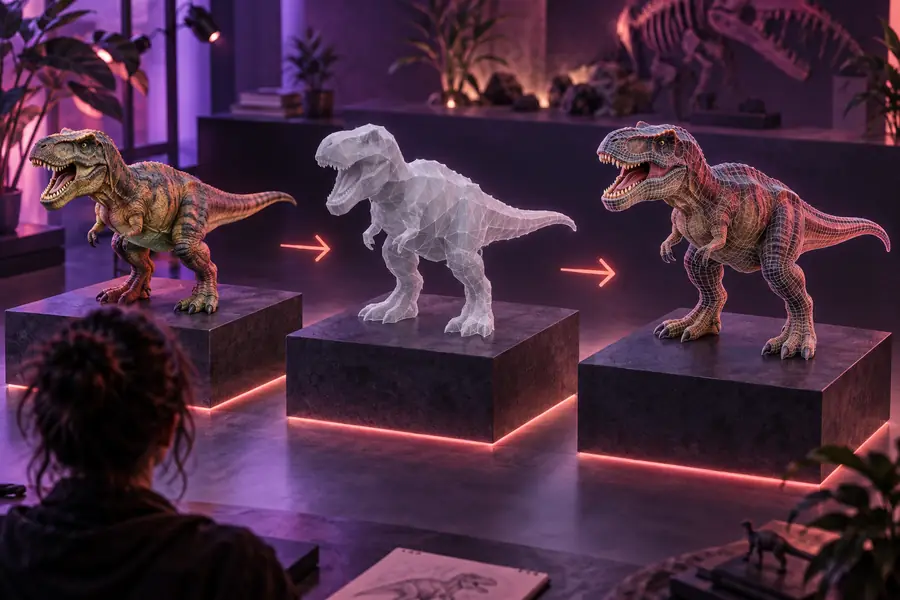
Look first at silhouette and proportions, then inspect surfaces and hidden geometry.
Reference imageGenerated modelAdvanced tips
You can begin with one well-prepared image, a short description, and a careful review of the generated result. Keep the first attempt simple, then improve the input when the model misses a visible feature.
Try the browser workflow with a clear reference
- Use a centered, well-lit subject
- Describe shape and material plainly
- Review geometry before using the model elsewhere
Tutorial FAQ
These answers cover the practical questions people ask when learning how to use the browser-based image-to-model workflow.
Open the browser tool, upload a clear reference image, and describe the object you want to generate. Review the resulting model, then improve the image or description and try again if important geometry is missing.
Start with a sharp, well-lit image of one object against a simple background. A centered subject with visible edges usually gives the generator more useful information than a busy scene, distant photo, or strongly reflective surface.
Yes, one image can be enough to create a useful first model or concept. However, a single viewpoint cannot fully show hidden sides, so the result may contain inferred or simplified geometry.
The image may hide important parts, contain confusing shadows, or show too little detail for the generator to interpret confidently. Try a cleaner reference, describe the silhouette and materials more precisely, and use additional viewpoints when available.
Not necessarily. Inspect the mesh for holes, disconnected pieces, thin walls, scale problems, and non-manifold geometry before printing, then repair and orient it in suitable modeling or slicing software.